Are you tired of buying expensive microgreens at the grocery store? With just a little bit of space and some patience, you can easily grow your own microgreens right in your own home.
One of the best things about growing microgreens is that they are ready to harvest in just a few short weeks, meaning you can have multiple crops throughout the year. But what good are all those delicious greens if you don’t know how to harvest them properly? Fear not, because we’ve got some quick and easy harvesting techniques that will have you enjoying your homegrown microgreens in no time.
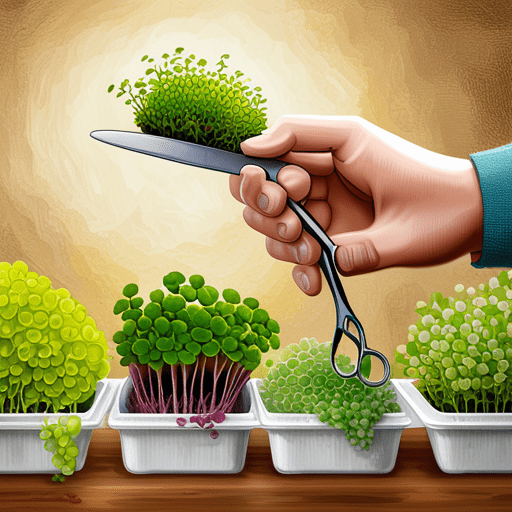
First up is the scissor and kitchen shear technique. This method is quick and efficient, allowing you to easily snip off individual stems without damaging the rest of the crop. By using sharp scissors or kitchen shears, simply cut the stems as close to the soil as possible.
It’s important to note that different types of microgreens may require different cutting heights, so be sure to research each specific variety beforehand. With this technique, you’ll have a fresh batch of microgreens ready for consumption in no time!
Scissor and Kitchen Shear Technique
Let’s talk about the scissor and kitchen shear technique for harvesting microgreens – it’s quick, easy, and efficient! This technique is perfect for those who want to harvest their microgreens in a precise manner. By using a sharp pair of scissors or kitchen shears, you can cut your microgreens with cutting precision.
This means that you can get the exact amount of greens that you need without damaging any of the surrounding plants. When harvesting your microgreens with this technique, it’s important to maintain the blades on your scissors or shears. Dull blades can damage your plants and make harvesting more difficult.
To keep them sharp, use a sharpening stone to hone them regularly. You’ll also want to clean your blades after each use to prevent any bacteria from spreading between plants.
Now that you know how to use the scissor and kitchen shear technique for harvesting your microgreens, let’s move on to another important aspect – choosing the right tool for the job.
Harvesting Tool Technique
Using a sharp pair of scissors, the best way to cut microgreens for maximum yield without damaging the delicate leaves is as follows:
– First and foremost, make sure your harvesting tool is clean and sanitized. This prevents contamination and ensures your microgreens remain fresh for longer.
– Optimal timing is key. Harvesting when the microgreens have reached their true leaf stage will provide more yield compared to cutting them too early or too late.
– When cutting, aim to do so at an angle rather than straight across. This allows for easier regrowth as well as preventing bruising of the leaves.
– Avoid over-cutting in one area by alternating between different sections of the tray. This helps to distribute the stress on the plants evenly and promotes better growth in subsequent harvests.
– Finally, be gentle when handling your microgreens. They may be small but they’re delicate and require careful handling.
Now that you’ve successfully harvested your microgreens using proper techniques, it’s time to move onto storage and preservation methods.
Storage and Preservation
Storing your freshly harvested microgreens properly is essential to ensure their vibrant colors and delicate flavors are preserved for as long as possible. One of the best ways to do this is by using vacuum sealing methods, which remove all the air from the packaging and help prevent spoilage.
To use this method, simply put your microgreens in a plastic bag or container and place it in a vacuum sealer. Remove all the air from the bag or container, then seal it shut. This will keep your microgreens fresh for up to two weeks.
Another important tip for storing your microgreens is to refrigerate them properly. Make sure you store them at a temperature between 32-40 degrees Fahrenheit, as this will help prolong their shelf life. If you don’t have enough space in your refrigerator, consider using a separate cooler or storage bin just for your microgreens.
Keep them away from fruits and vegetables that produce ethylene gas such as apples, bananas, and avocados since they can cause premature ripening.
In addition to vacuum sealing and proper refrigeration, there are other preservation methods worth considering if you want your microgreens to last longer than usual. For example, you can freeze them by placing them on a baking sheet lined with parchment paper until they’re frozen solid before transferring them into an airtight container or freezer bag.
Another option is drying them out completely before storing in an airtight jar or container at room temperature. Regardless of which method you choose, make sure you label each package with the date of harvest so that you know when it’s time to discard any leftovers!
Conclusion
Congratulations! You’ve successfully harvested multiple crops of microgreens using quick and easy techniques. You must feel like a pro-gardener already, right?
But wait, did you know that all your hard work will be ruined if you don’t store them properly? Oh no!
Don’t worry though, it’s not too late to save the day. Simply place your freshly harvested microgreens in an airtight container and refrigerate them immediately.
And here’s the ironic twist – despite all the effort you put into growing these greens, they won’t last forever. So enjoy them while they’re fresh and crispy because once they start wilting, there’s no going back.
In conclusion, harvesting microgreens is a fun and rewarding experience but it requires proper technique and storage to make sure all your efforts don’t go to waste. So keep on experimenting with different crops and keep those scissors handy because who knows what delicious meals you can create with your homegrown microgreens!
